work in progress
Encrypt and sign files
This tutorial is for Gpg4win 4.0.3. For new versions this process may differ.
Contents
1. Using Kleopatra
2. Using GpgEX
3. Result
Introduction
Jane has a new dog and shot a picture of it. Now she would love to share the picture with her best friend Kim. Because Jane also just started with Gpg4win and the whole crypto world she wants to encrypt and sign the photo before she sends it. With this tutorial Jane learns which ways she can take to encrypt and sign a file.

Source
We just revealed that there is more than one way to encrypt a file. So you can look at the instructions and maybe try different ways to decide which one suits you most. One possibility is to use Kleopatra which you probably used to create your own keys. Another tool that can be used is the component GpgEX.
Both Kleopatra and GpgEX are installed on your system if you followed this tutorial without any modifications.
Using Kleopatra
1. Click on Sign/Encrypt...

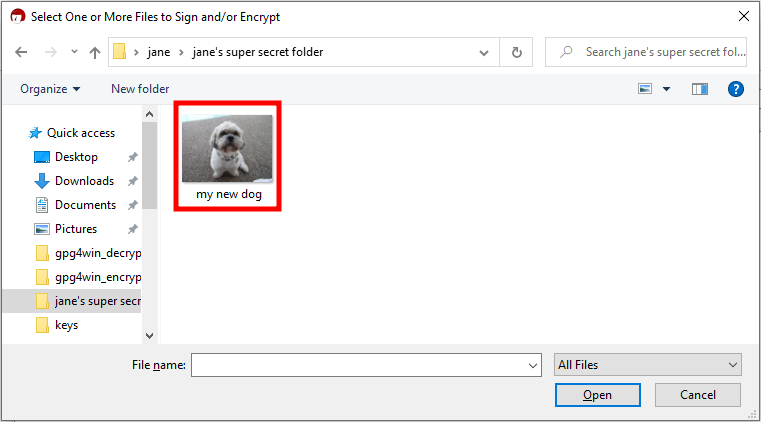
2. The file explorer will be opened. Navigate to the folder where the file is which you want to encrypt and click on this file.
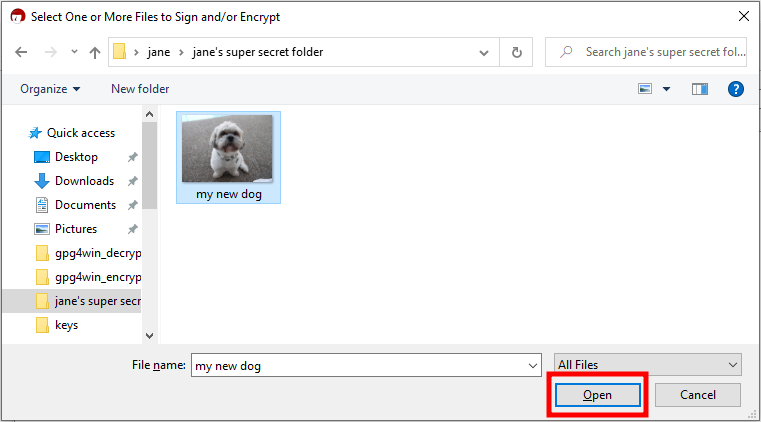
3. Click on Open
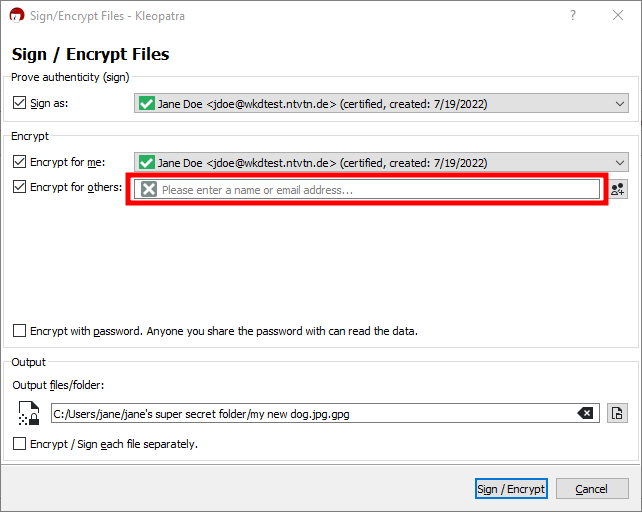
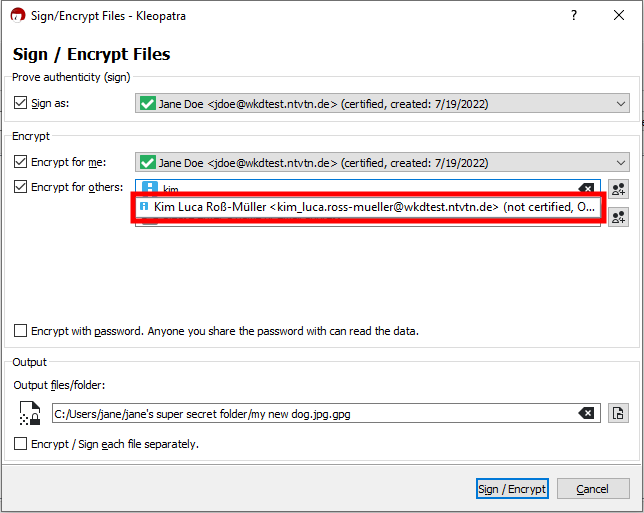
4. In the field Encrypt for others start to enter the name of the email address of the person you want to encrypt the file to. In Jane's case she enters 'kim' to find Kim's key.
5. Click on the key of that email address to select it
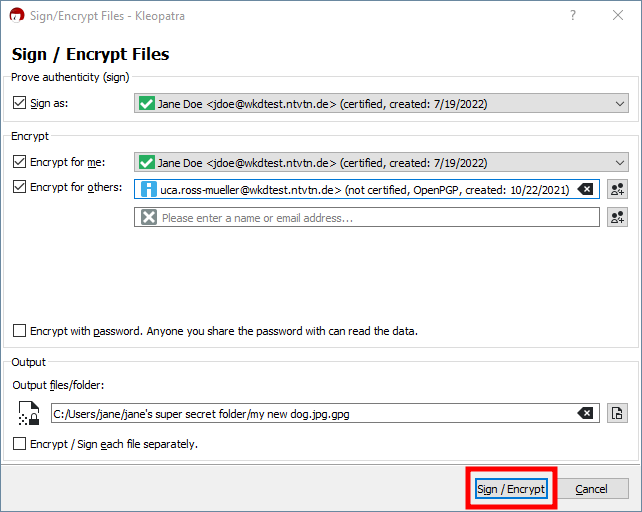
6. Click on the button Sign /Encrypt
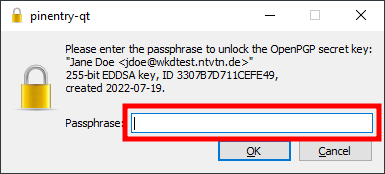
7. Enter the password/passphrase of your own key
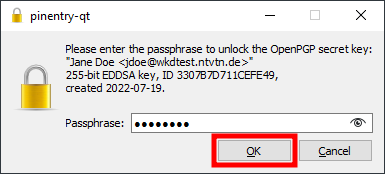
8. Click on OK
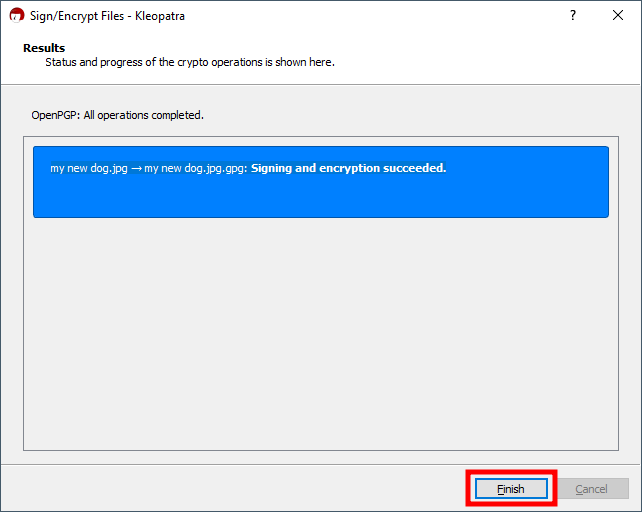
9. Click on Finish
Using GpgEX
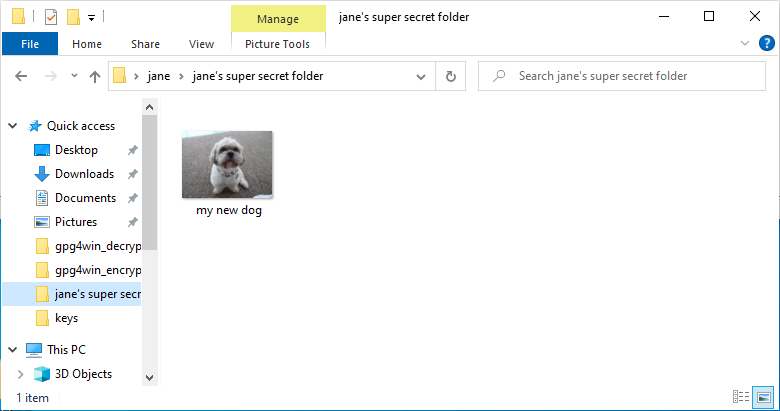
1. Navigate to the folder where the file is which you want to encrypt.
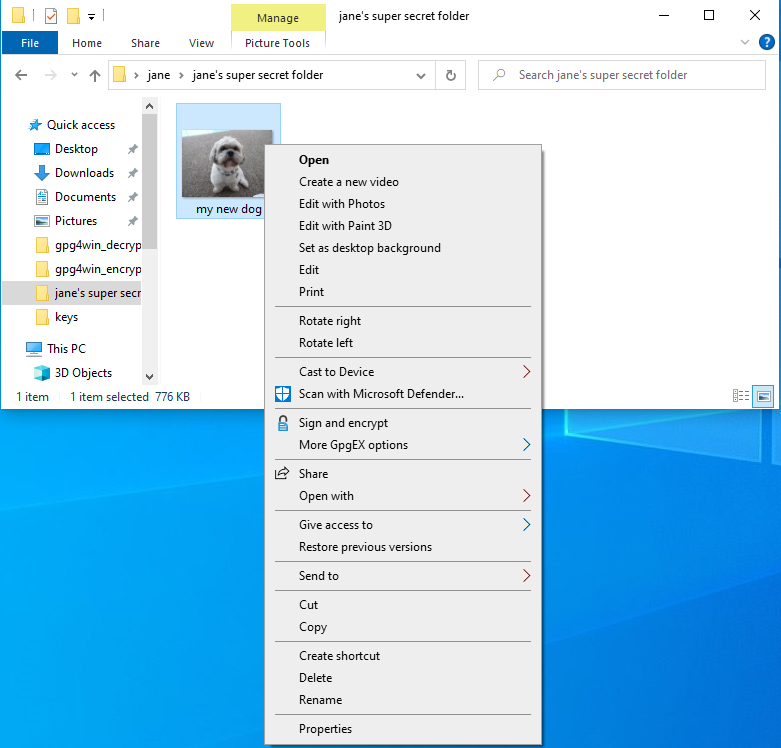
2. Right-click on the file you want to encrypt and click on the entry Sign and encrypt
3. Then follow step 4 to 9 of the section Using Kleopatra above.
Result
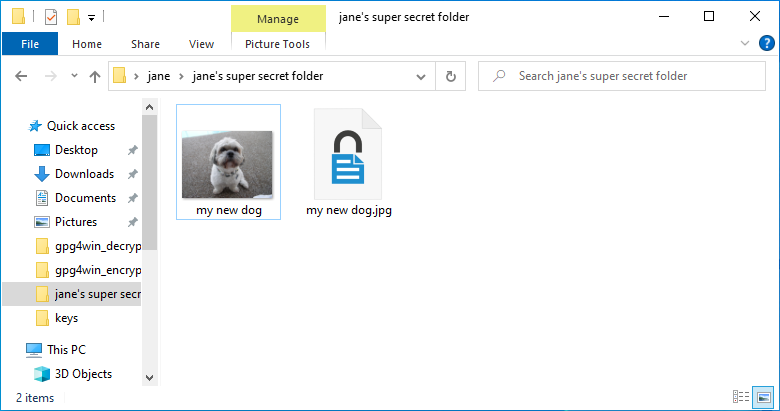
After completing this tutorial you have a new file with a lock symbol in the same folder where the original file is. This new file is the encrypted and signed one.
